Blue Dev Board - Programming
Note: This guide is for Windows only
Set up the SEGGER Embedded Studio environment
- Download and install SEGGER Embedded Studio for ARM V7.12 for Windows
- Leave all of the settings default
- Download and install the nRF5 SDK V17.0.2
- Go to the download page
- Scroll down and select
17.0.2 nRF5 SDK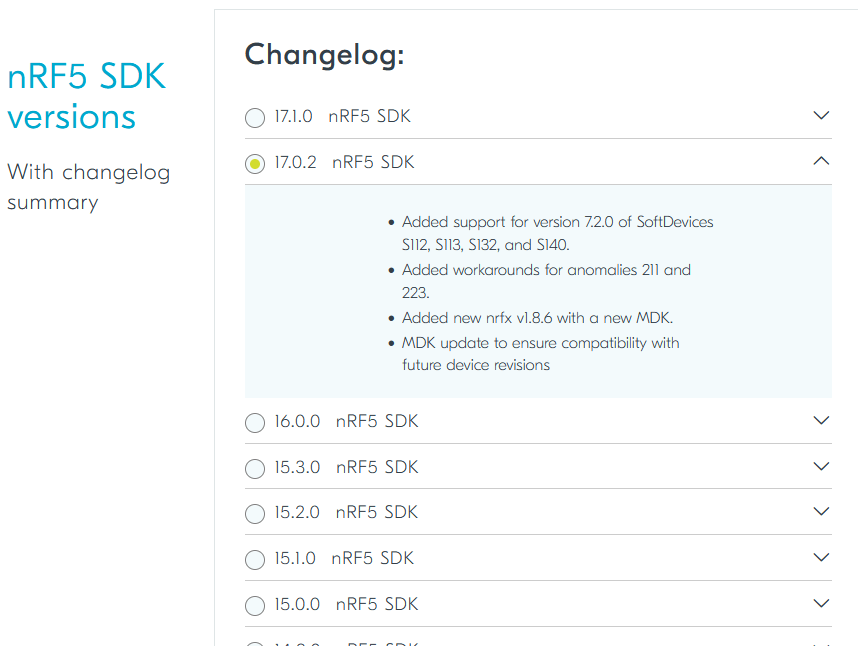
- Scroll down and unselect all of the options in
SoftDevices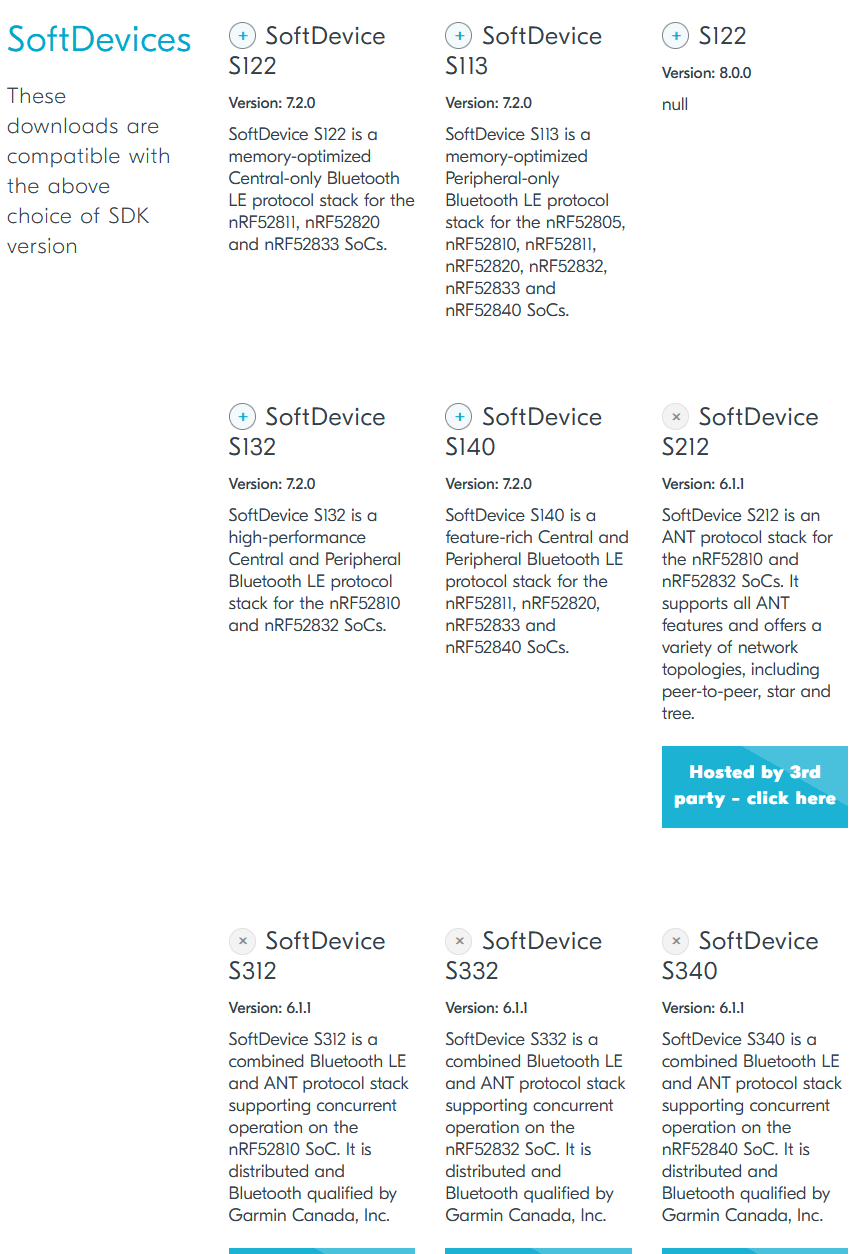
- Scroll down and download the zip file
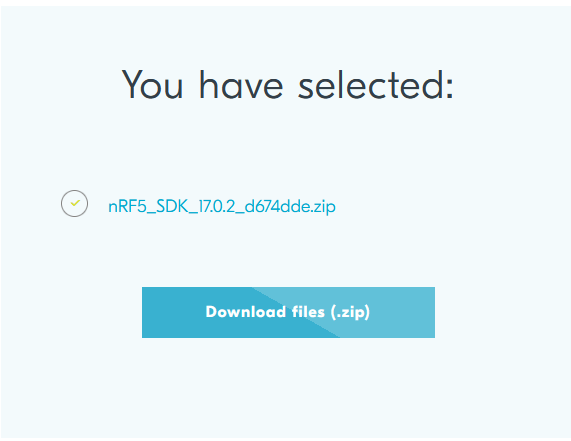
- Extract the sdk to your desired location
- Note that you will have to do two extractions to get to the SDK folder
- The resulting folder name should be
nRF5_SDK_17.0.2_d674dde
- Navigate to the following folder in the nRF5 SDK:
nRF5_SDK_17.0.2_d674dde\examples\ble_peripheral - Download ble_app_uart_c_multilink.zip
- Extract the .zip file to
nRF5_SDK_17.0.2_d674dde\examples\ble_peripheral - Navigate to
nRF5_SDK_17.0.2_d674dde\examples\ble_peripheral\ble_app_uart_c_multilink\pca10056\s140\ses - Launch
ble_app_uart_c_pca10056_s140.emProject(by double clicking)
Now that you’ve done this, launching segger should default to opening this project and main.c.
Programming the blue board
- Launch SEGGER Embedded Studio and open the project. If the project does not open automatically, folow steps 7-8 of the previous section to reopen the project.
- Plug the Blue Board into your computer
- A file explorer should pop up with a title of JLINK
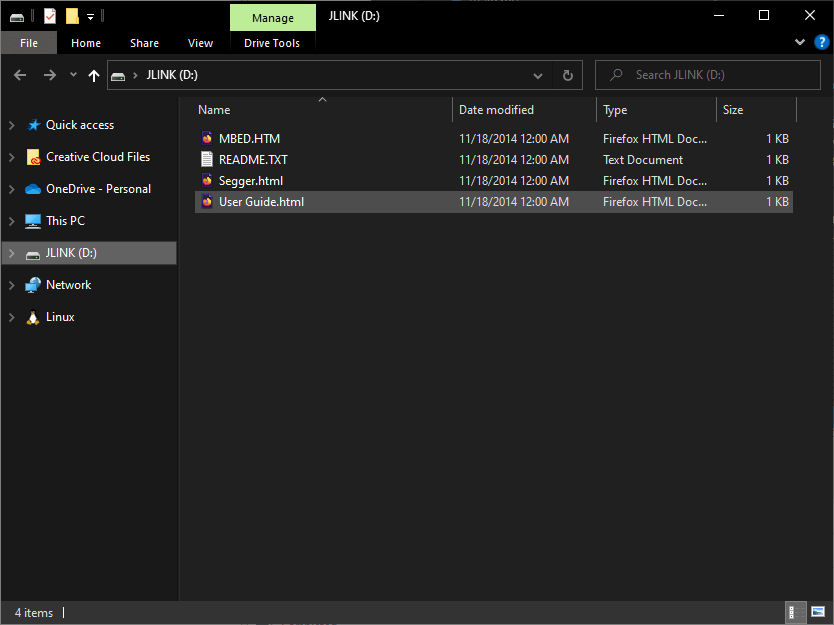
- A file explorer should pop up with a title of JLINK
- In SEGGER, go to the top left and select
Target->Connect J-Link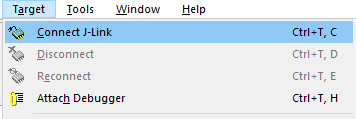
- If you are prompted with a firmware update, select
Yes - You can check that the Blue Board is properly connected by clicking on
Targetin the top left. The menu should look like this: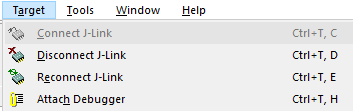
- If you are prompted with a firmware update, select
- Go to the top left and select
Build->Build and Run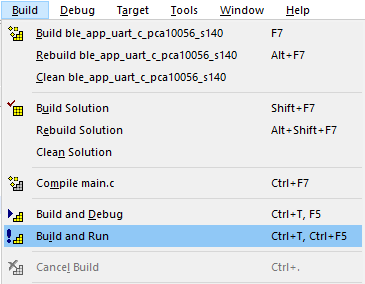
- The console at the bottom should show the following after a successful build:
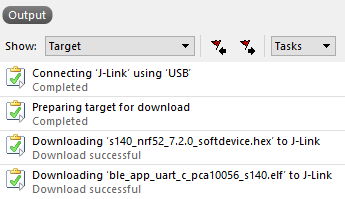
- The console at the bottom should show the following after a successful build:
- The Blue Board is now ready to be used with the GUI!